
Technique
What Is a Chocolate Transfer and How to Make One
Where it all begins
Hello everyone, my name is Olga Penioza, and today I want to talk to you about chocolate transfers: what they are, what kinds there are, and what you can do with them.
Imagine that holidays and events are coming up, and you want your candies, cakes, macarons, and eclairs to look different from everyone else’s — with your own design, lettering, or texture. You want the base of each candy decorated with exactly the pattern you chose. That is exactly the job a chocolate transfer does: it lets you move an image onto chocolate. That is its basic function.
And the best part is that you can learn to make these transfers with your own two hands. I will explain how below.
Main idea
A chocolate transfer is, as the name itself suggests, a transfer element: something that lets you move a design onto chocolate. You can buy them ready-made, or make them yourself for a specific task. And the ability to create your own chocolate transfers is a very useful skill. It means you no longer depend on other people’s designs and can decorate your products exactly as you imagined them.
What a chocolate transfer is and what kinds there are
Let’s look at the different kinds — I prepared several specifically to show you.
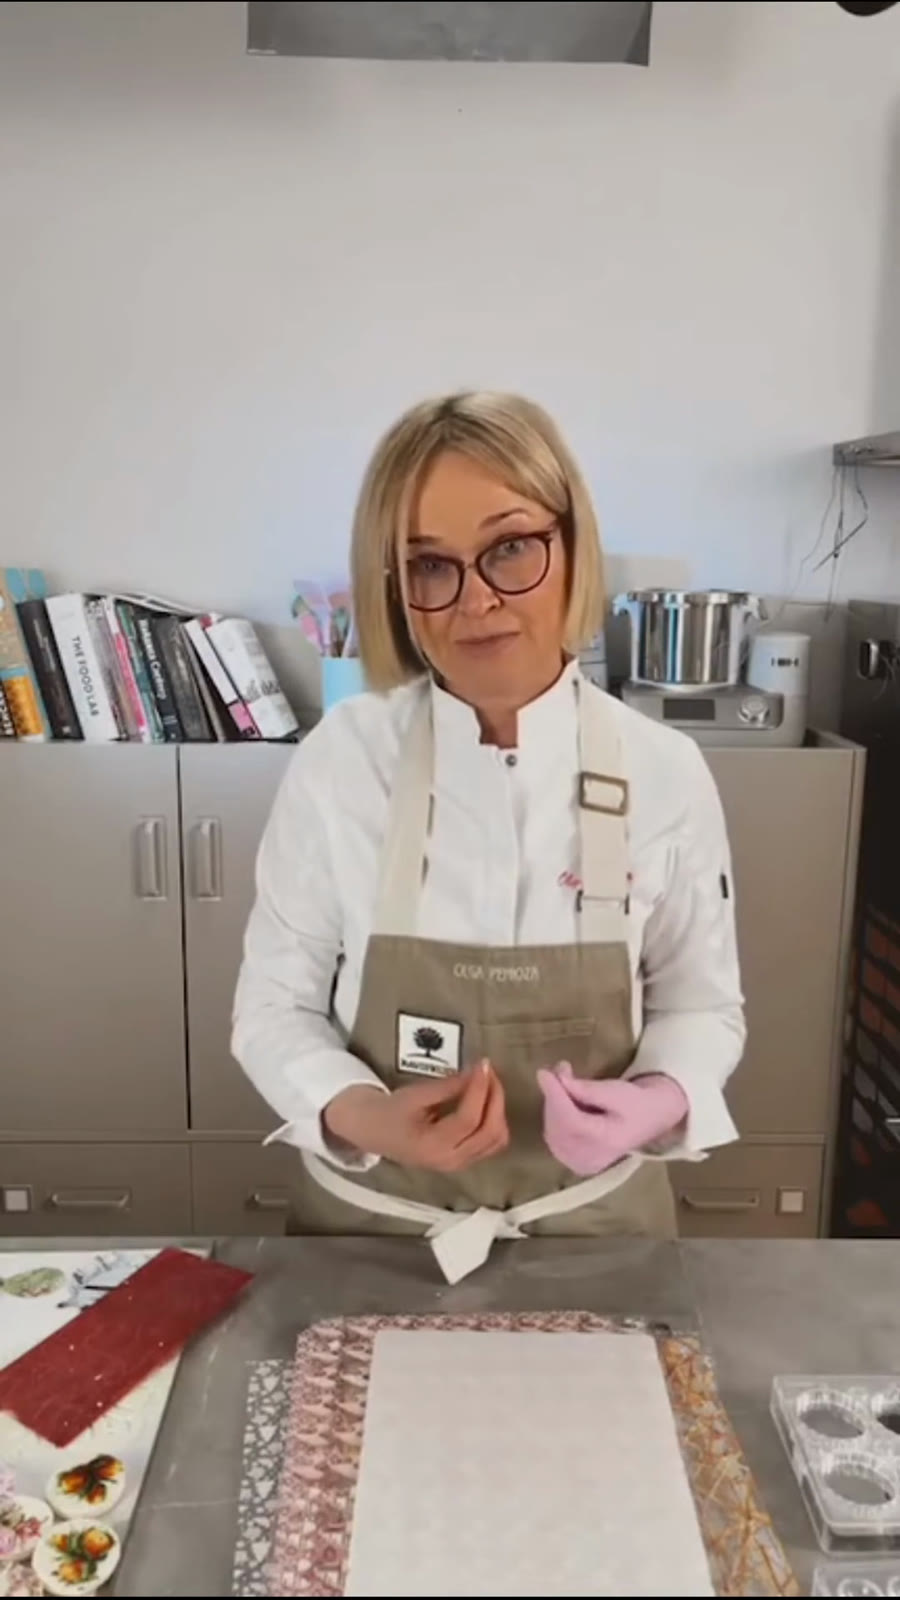
By shape. They can be flat sheets. They can be three-dimensional — like this egg. They can have a slight relief, literally two or three millimeters thick — like these raised hearts. Their colors can be completely different too: black, red, white — anything.
By base material. The colored layer is applied to different materials, and this affects how the transfer behaves in use:
- Polyethylene or PVC — soft, quiet sheets. We also call these guitar sheets: in density and structure, the film is similar to greenhouse film.
- Acetate film — stiffer, and it makes that characteristic rustling sound.
- PET — if the pieces are three-dimensional, then the base is almost certainly PET.
By transparency. Transfers can be transparent or opaque. This depends not only on how much of the design has been applied and how much open space there is, but also on whether white chocolate or titanium dioxide is present in the application. If you see completely white areas that nothing shows through, they most likely contain titanium dioxide or white chocolate.
How to find out what is inside: just read the ingredients
To understand what your transfer is made of, take the manufacturer’s packaging and read what it says. Nothing complicated.
For example, one of my transfers lists cocoa butter, sugar, milk, and natural vanilla flavor — which means the color here was applied with white chocolate. It also says titanium dioxide is present, that is, E171. Another colorant may be added as well — red E122, for example. And the material itself is PVC in this case, the soft one.
Here it is important to distinguish between two fundamentally different compositions:
- If the design is applied with chocolate and cocoa butter, the remains of that transfer will combine when melted down and become one color. On dark chocolate, you will mix it in and there will be almost no trace.
- If it is not chocolate but special additives — a food mixture of pectin, an acidity regulator, a preservative, glycerin, and stabilizers — that mass will not melt when heated. A small white trace will remain on dark chocolate, and if you decide to melt the leftovers down, you will have to scrape those white marks off mechanically.
To understand what you are dealing with in advance, ask the seller or read the ingredients.
Store-bought or homemade: why printer transfers “run”
Now for a very important difference that can get you into trouble.
All the store-bought transfers I mentioned above are fat-soluble. But you will also find sheets on the market where the design is applied with water-soluble food colorings: special chocolate-transfer paper goes into a printer with edible inks, and the design is printed.
Here’s the catch. A chocolate plaque, a cake collar, or any element you get from such a sheet will dissolve and run when it comes into contact with water.
“Where would water come from on my cake?” you may ask. The simple answer is: during thawing, a large temperature difference creates condensation. And that condensation becomes the source of the runs.
So keep in mind: if the film has a special layer (starch, protein, sugar — so that the print will adhere), the design on that material will be water-soluble. This is the fundamental difference between transfers you buy and those you print yourself.
How to make a chocolate transfer yourself
Making a transfer with fat-soluble colorants for your own individual use is very simple. Take cocoa butter, fat-soluble colorants, and film, then apply the design you need yourself.
By the way, here is our very first homemade transfer — our first attempt, and it has been traveling with us for seven years already. It is acetate film, cocoa butter, and a little Candurin luster dust, with the design scratched into it. If you cover it with chocolate now, it will make a pretty plaque with lettering. This is my personal example, not a universal recipe: choose the composition and the luster for your own task.
What you will need
- colored cocoa butter — for the color and design you have in mind;
- pieces of masking tape — first to secure the strip to the table, then to secure the collar to the ring;
- sheets of parchment — we always need them when assembling a chocolate collar;
- brushes — choose the size based on the type of design;
- acetate film: its height determines the height of the collar, and its length determines the circumference of your ring. Film about 130–150 microns thick holds its shape well;
- a metal ring with an acetate collar attached in several layers to add height — so that the chocolate collar does not curl inward as it contracts;
- scissors, ruler — the ruler will be useful if you want to cut the collar strip into several heights.
Painting the film with cocoa butter
Lay the film on the table and secure both sides with masking tape so it does not move around. Then wipe it with an alcohol wipe to remove any dirt and fingerprints.
The cocoa butter must be tempered. Why this is critical: the surface shine is created only when tempered cocoa butter touches the shiny surface of the film. And even tempered cocoa butter must be stirred before you start — while it was waiting for you, some of the colorant settled to the bottom and the butter rose. The mixture should be homogeneous.
Do not take a large amount of color at once: cocoa butter applied in a thick layer will look lumpy as it cools, and we do not want that.
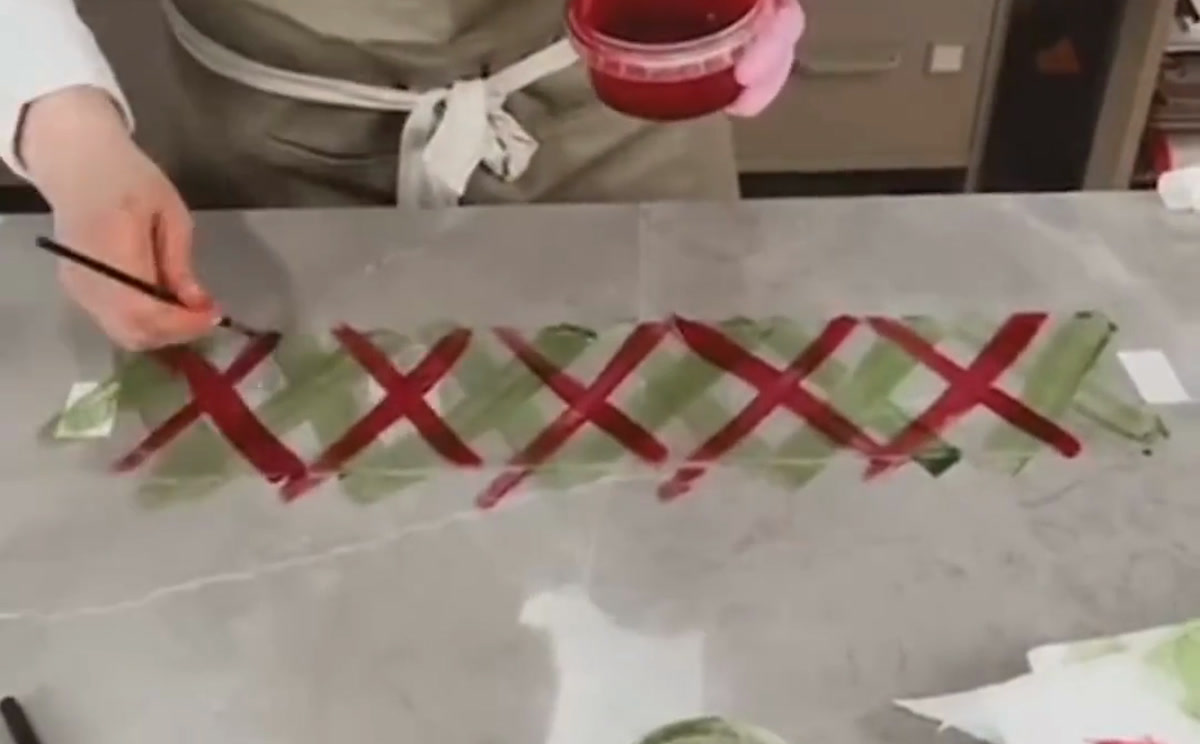
Apply diagonal stripes crosswise, with some distance between them. First in one direction; the cocoa butter is tempered and will start to stabilize quickly, so soon you can apply stripes crosswise in the other direction. Wait until the layer stabilizes (the cocoa butter will stop shining and become matte — a sign that the crystals have formed a dense lattice), then apply another colored layer if you like. The more layers, the denser and brighter the color: green first, for example; once it has stabilized, red.
A little about tempering cocoa butter
The working temperature of cocoa butter for application is approximately 26.5 to 32 degrees. At 32 degrees, especially in a warm room, the butter will take a very long time to stabilize. So it is best to work with cocoa butter at around 27 degrees when the room temperature is around 22.
How can you tell the butter is not tempered? If it is still liquid at room temperature, it is not tempered. You cannot work with it like that: it will not stabilize, and when you apply the chocolate it will move around. What to do: heat it to 40–45 degrees and, while stirring, cool it to approximately 32, then work at 27 so stable crystals form (Type V, the most stable form).
You can warm it for literally a few seconds in a microwave or with a heat gun — a heat gun is very helpful in this work. And keep moving and stirring the butter as it cools: even if you put it in the refrigerator to speed up the process, take it out and stir it. The test is simple: make a thin smear on a cool surface; if it starts to turn matte within the next minute, you did everything correctly and the butter has tempered. If it does not turn matte, do not experiment; temper it again. There is also a ready-made “silk” option — pre-crystallized cocoa butter: you seed the mass with stable crystals and get reliable tempering.
Assembling the collar
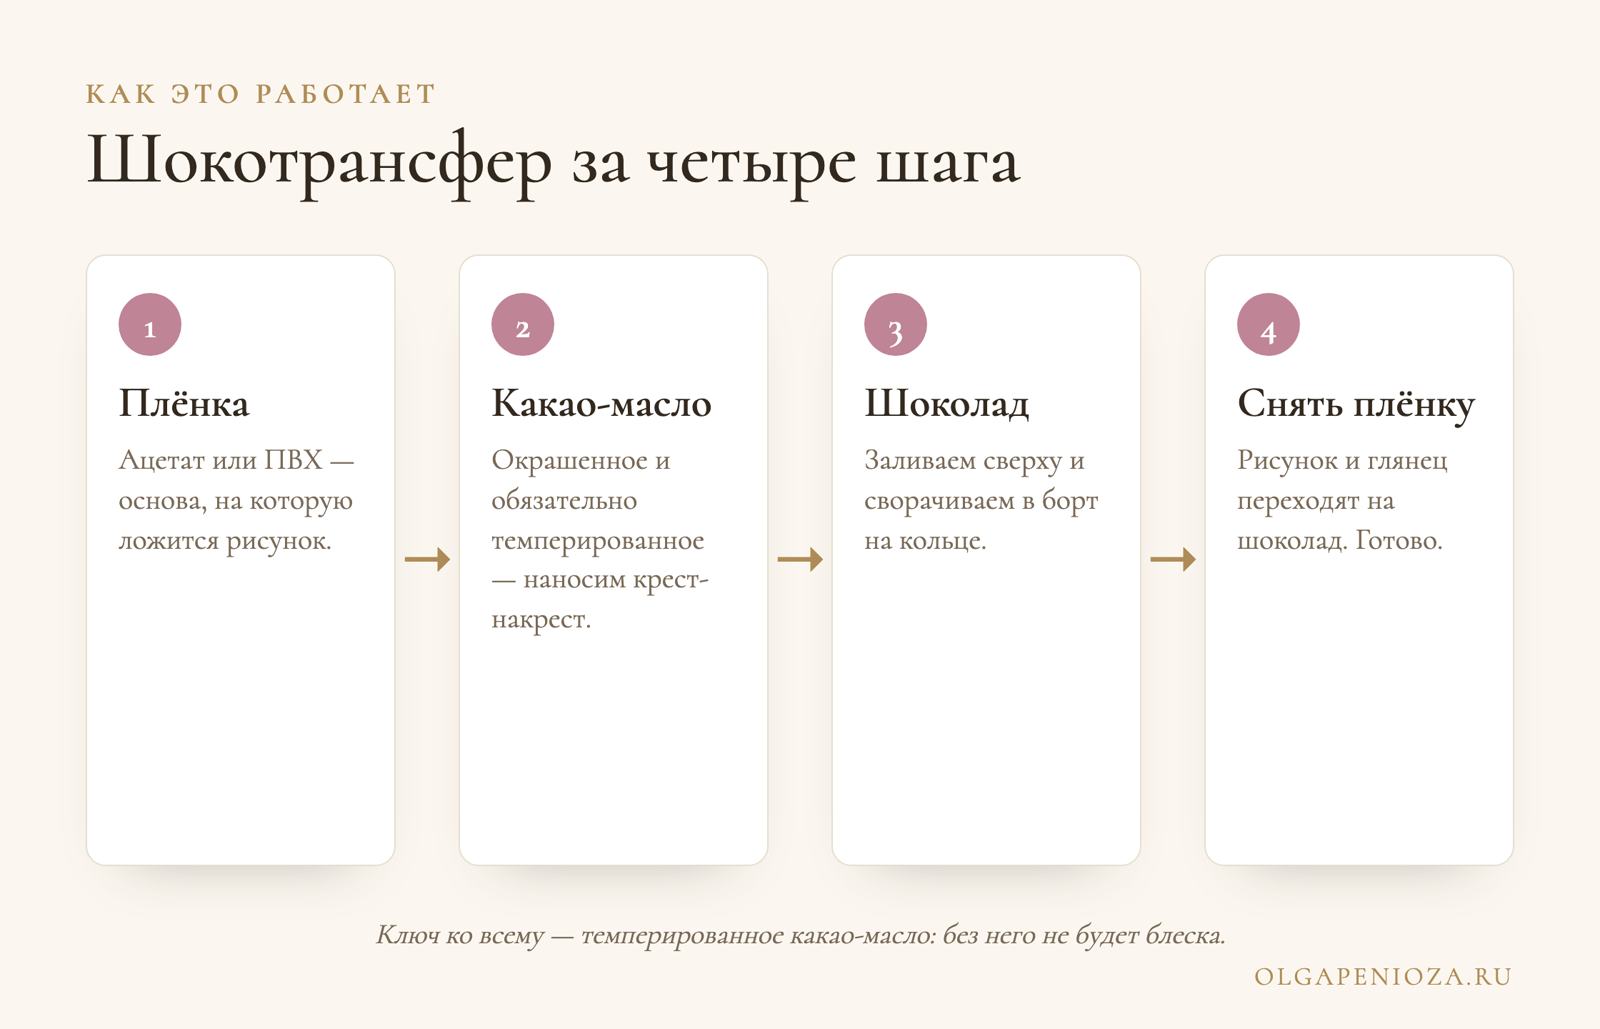
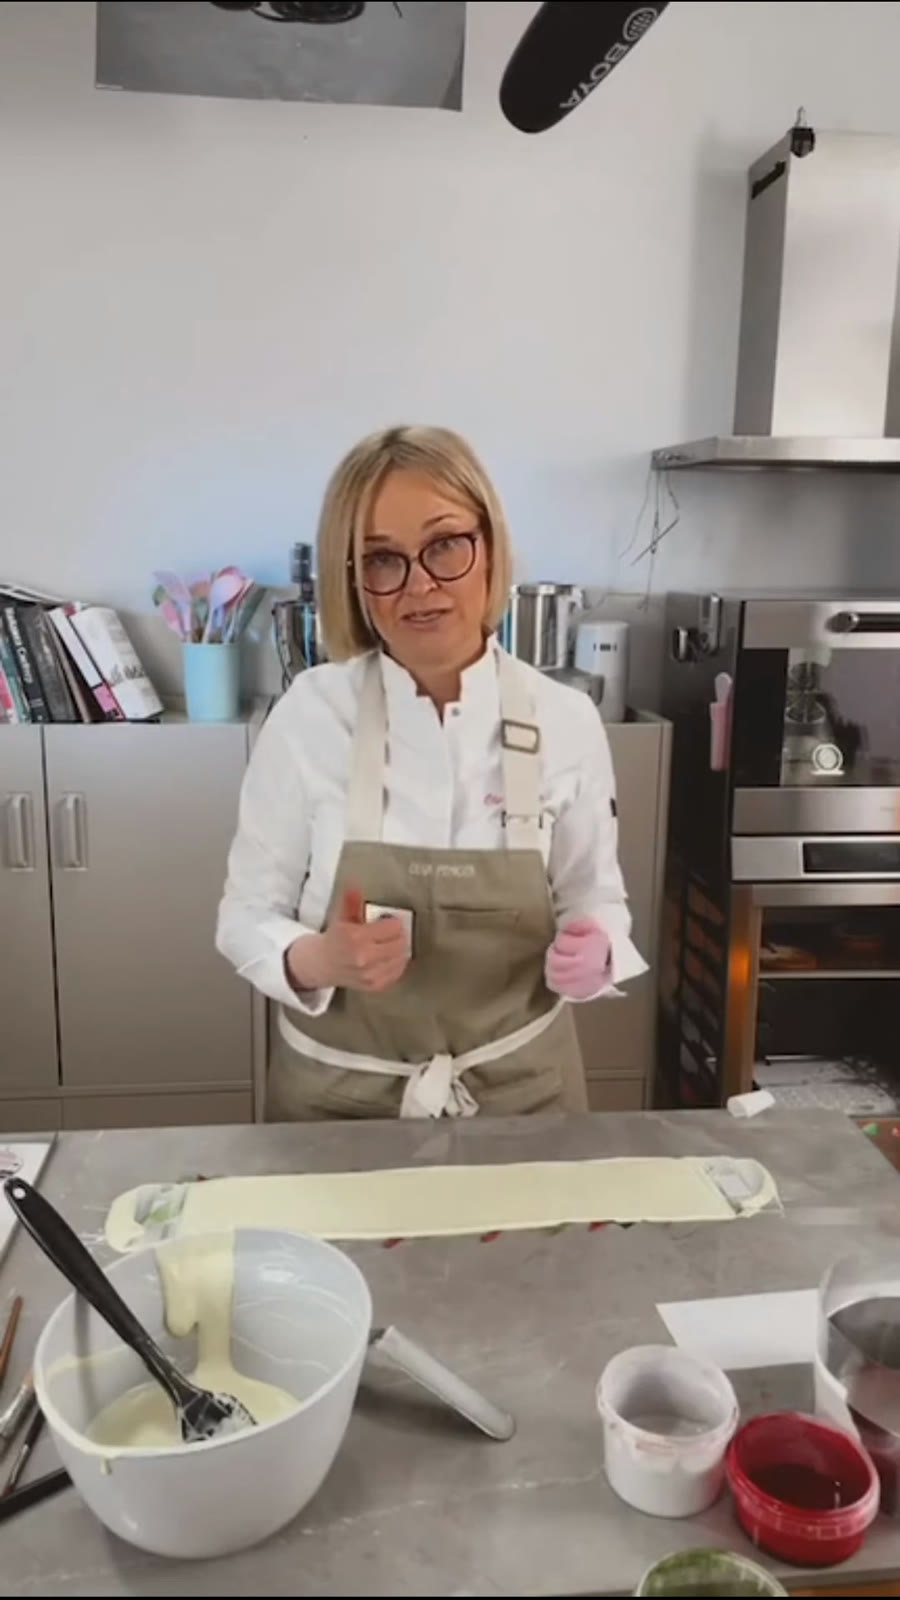
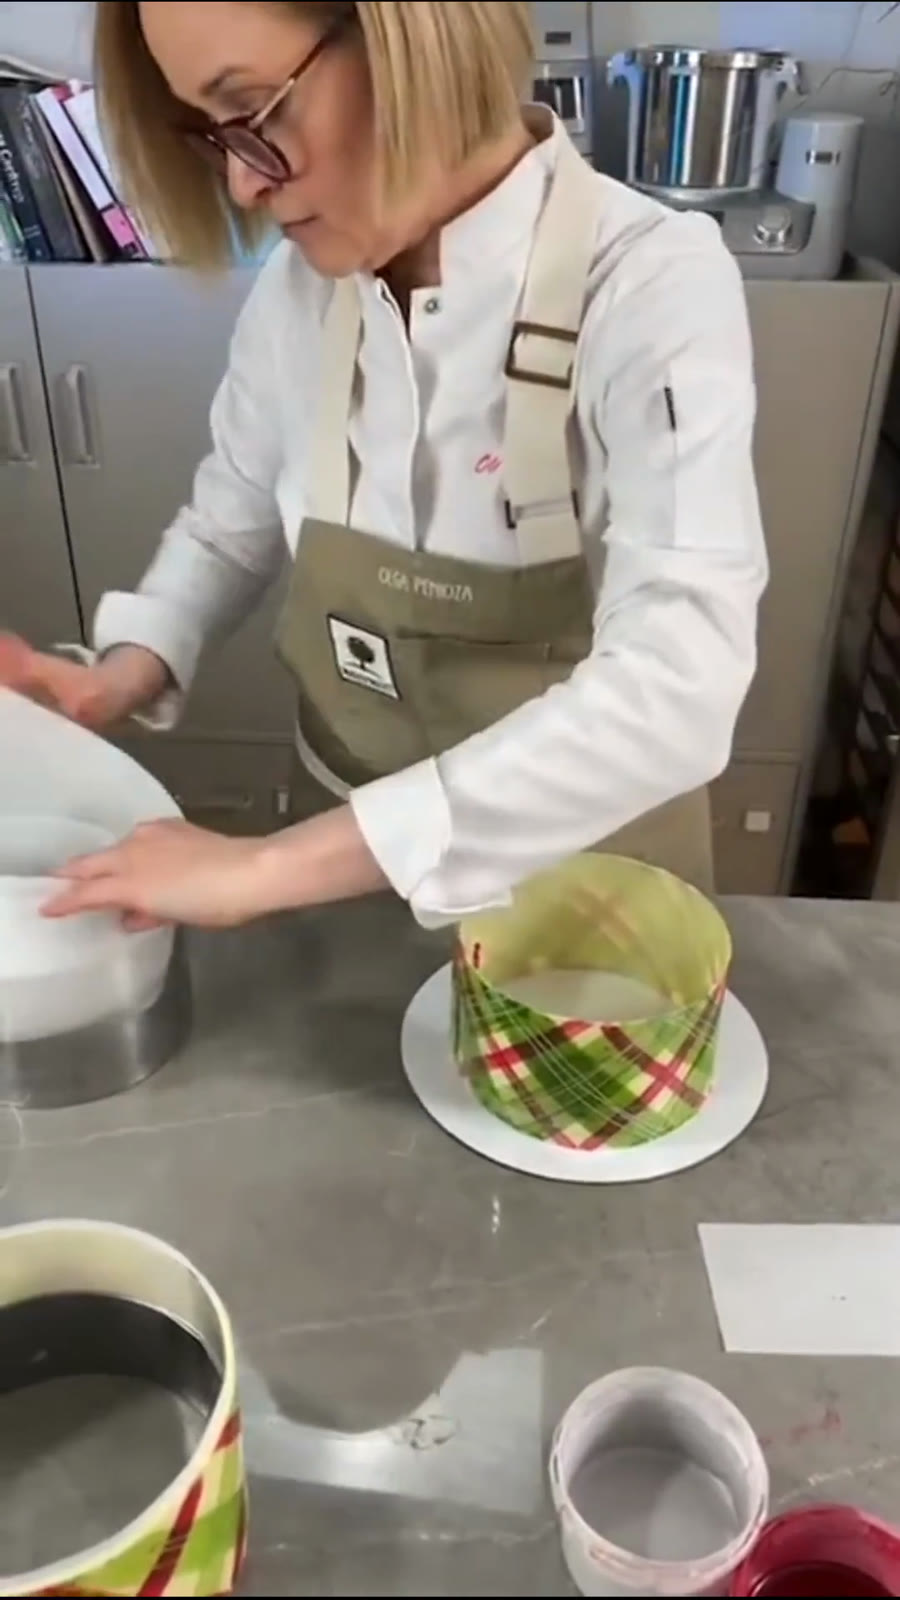
When the cocoa butter has fully stabilized, apply a layer of chocolate on top, smooth it, place paper over it, wrap it around the ring, seal the edge, and leave it to stabilize.
Final good stabilization occurs after three to four hours; initial setting happens after an hour. The longer the collar sits, the more evenly it will release from the acetate film — and you will get a beautiful, even shine across the entire surface. If you hurry and start removing the film too early, there is a good chance that the thin layer of cocoa butter will stay on the film instead of coming away with the collar, which will ruin the shine. You can speed up stabilization in a special refrigerator at a low temperature above freezing.
Remove the film carefully: take a needle or knitting needle (very convenient tools), free the very edge of the film, hold the collar, and peel the film back instead of yanking it. By the way, one strip can make several collars at once: after applying chocolate, let it stabilize a little, use a ruler to score it to the needed height, wrap the entire strip around one ring, and after stabilization separate the tall collar into two or three — however many you need. This way, one transfer gives you a narrow, tall, and low collar.
And be sure to seal the join: heat a metal spatula over a heat gun, trim the edge, and seal the join with chocolate — you will get a complete ring that holds the product perfectly. If you plan to place the cake inside the collar, seal it beforehand; if you are putting the collar onto an already finished cake, seal it afterward.
What you can use a chocolate transfer for
There are lots of uses, and that is the most interesting part:
- Magnetic candy molds. Place the transfer design-side up, close it, clamp it between the molds, and pour in the chocolate. Once the chocolate stabilizes, the bottom will have the design, and your candies will be finished with your own custom transfers.
- Polycarbonate molds (and PET, Tritan). Apply chocolate, fill with filling, add a little chocolate, cover with the transfer, and remove the excess by pressing the transfer down. After stabilization, a colorful layer forms wherever the transfer touched the bottom, and the design will transfer to the bottom of every candy.
- Decorating macarons, eclairs, and chocolate figures, plus leaves and floral compositions, and textural effects — crackle, the look of unfinished or tinted wood. All of this uses the same method of applying a chocolate transfer.
- A collar as the cake’s shell. Here the collar is not just decoration — it supports the whole cake and becomes its support. You can assemble a fully decorated celebration cake in literally an hour.
I especially like the chocolate plaque technique — the same principle of applying cocoa butter, only with a more deliberate design: when you apply a specific drawing rather than just stripes or swirls.
Mistakes and limits of use
- Do not overdo the cocoa-butter layers. Each layer adds thickness, which increases contraction. If a layer is too thick in one place, it may crack and lift the cocoa butter before you have time to cover it with chocolate.
- Do not remove the film too early. Allow full stabilization (3–4 hours), or speed it up in the refrigerator; otherwise some cocoa butter will stay on the film and the shine will be ruined.
- A transparent design will disappear on dark chocolate. If the color is transparent, without opacifying components (for example E170, E171, E172), first make a preliminary white base or an underlayer with white in it.
- A brown design will blend into a dark base. If the entire color is brown (a mixture of cocoa and cocoa butter), and you want to apply it to dark or milk chocolate, make a white (or other) opaque layer first. But a solid coating made with white chocolate or titanium dioxide can be applied without a problem to both dark and milk chocolate.
- Dark chocolate is stronger. A dark-chocolate product is always stronger than one made from white or milk chocolate — milk fat affects both the force of contraction and the strength of the collar. So with white and milk chocolate, make the collar layer thicker.
- Always seal the collar’s join — otherwise it will unfold and deform as it contracts.
- Printer (water-soluble) transfers are not suitable where condensation and moisture are possible — they will run.
What to remember
- A chocolate transfer moves a design onto chocolate; you can buy one or make it yourself.
- Store-bought transfers are fat-soluble and not afraid of water; printer-made ones are water-soluble and run from condensation during thawing.
- Your own transfer = film + colored tempered cocoa butter + fat-soluble colorant + chocolate on top. Tempering is essential: without it, there will be no shine, and the butter will move around.
- Read the ingredients on the package: they immediately tell you whether the transfer contains chocolate or special additives, whether there is an opaque white component, and what the base material is.
- A transparent or brown design on dark chocolate needs an underlayer. Do not rush to remove the film. Do not use too many layers.
I hope you feel like creating your own chocolate transfer now — and feel inspired for the holidays ahead.